i-am.ws |
CentOS 6 boot from USB
Installing CentOS 6 on a laptop without CD/DVD seemed to be easiest by using a Live-USB stick. However, on the net there were warnings that version 6 behaves different from CentOS 5. And indeed, it took me too a couple of attempts before I was successful. I downloaded the LiveCD ISO for CD, not DVD, because with 700 MB, it would fit on the 1 GB USB key I had lying around.
After a little research, I opted for this livecd-iso-to-disk script (or get it from GIT), which promises to do it all automagically. My first problem was that my CentOS 5 system didn't have 'udevadm', which I solved by changing in the script "udevadm info" into "udevinfo" and swapping "udevadm settle" for "udevsettle". After that, the USB key would build, until the stick had to be made bootable. Long story short, the isolinux / extlinux in CentOS 5 is too old. I could have downloaded a more current tarball and built it, but I was too scared that that would break something else.
My solution was to move the whole project to another system running a more current OS, in this case Fedora 15. After installing extlinux with a "yum install syslinux-extlinux", not only my udevadm issues were solved, but it also had a more recent isolinux, version 4. One tip: if you copy everything to the USB key and then at the end something breaks, like my extlinux, you can use the option "--skipcopy" to save quite a bit of time. Finally, I used an ext3 filesystem on my stick and it is a good idea to start each new attempt with a "mkfs.ext3 /dev/sd@#".
After booting from the USB stick, the next steps were of course an "Install to Hard Drive", then a "yum update", followed by using the GUI to install a whole slew of RPM packages.
Posted at 06:03PM Oct 15, 2011 by WWWillem in Software |
Slimp3 server with Voyage
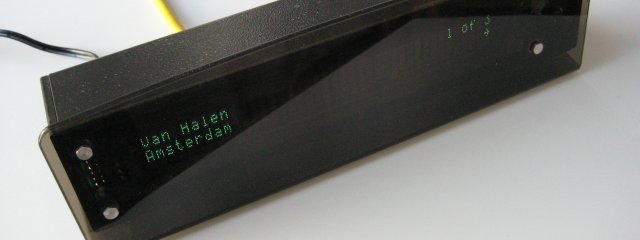
With two SLIMP3 players in the bottom drawer (if I remember correctly, each around sixty bucks on eBay), it got time to make some better use of them. Now I've always had a SlimpServer / SqueezeBox running on the same box that's doing my MythTV, but I needed a setup independant from that. A small server, running Linux and Slimp, making no noise and preferably being cheap. That was the goal.
I started my research for Single Board Computers (SBC) again, checking out the latest status on Fit-PC and SheevaPlug. But then I found this little gem: the "alix3d3" from PC Engines. A Swiss company that makes SBC's in a form factor smaller than micro ITX. The board I got is 10x16 cm, powered by an AMD Geode processor and includes VGA, network port, 2x USB, RS232. And if you add a mini-PCI you can even do wireless.
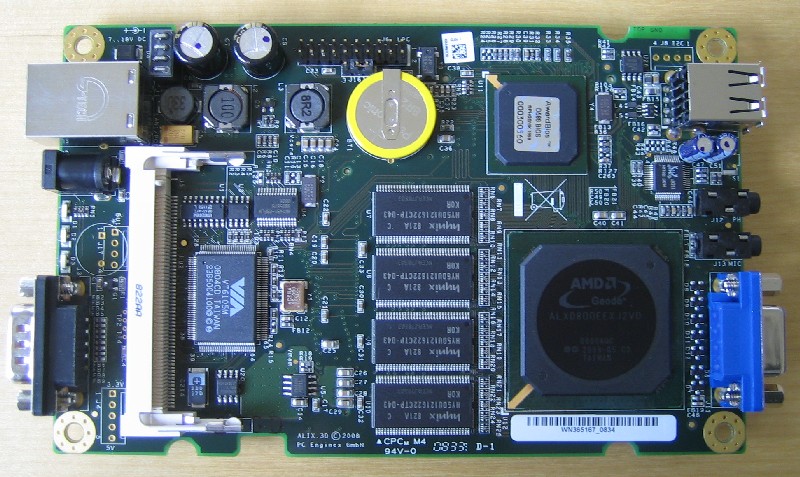

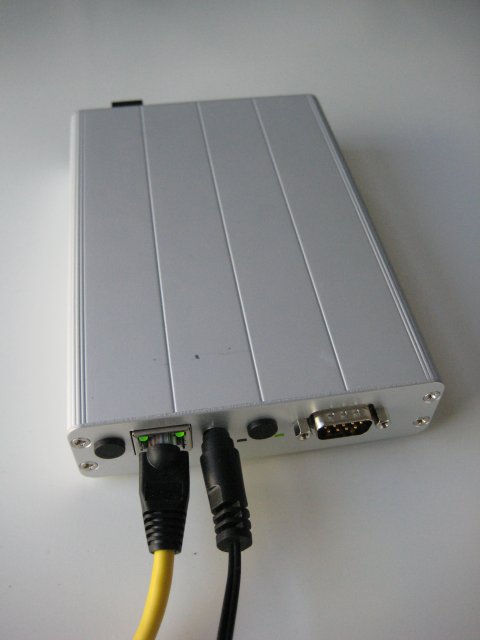
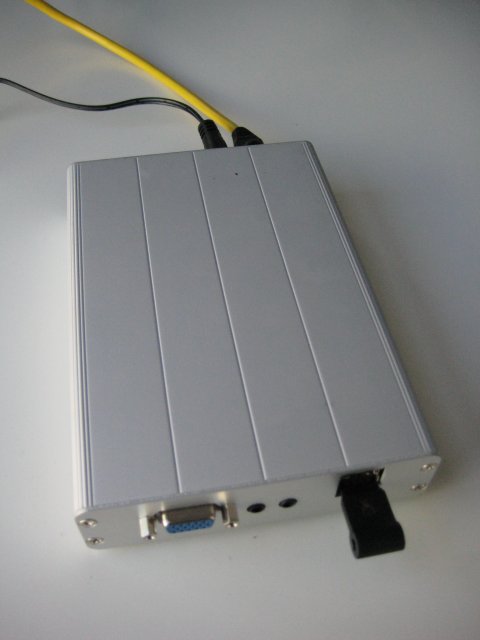
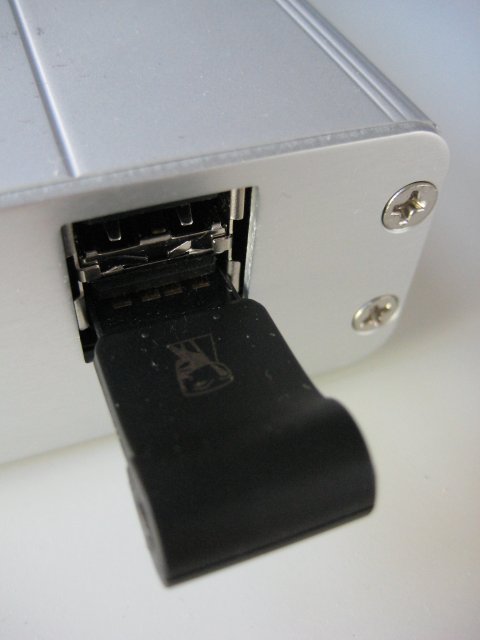
For my Slimp3 server, I added a 512 MB CompactFlash to boot from and a 16 GB USB stick for the music library. I could order all of that for less than 200 bucks including a pretty cool aluminum enclosure. The total size is smaller than an external 3.5" harddisk. Now the thing I'm still most amaized about is that little Kingston thumbnail on the right that is storing 300 CDs. I need quite a couple of bookshelves to store the physical CDs these MP3's came from.
Now the fun part was of course the software install. Did a bit of research and with this reduced hardware, a full blown Fedora or Ubuntu is not the way to go ..... but who needs X-Windows on a media server. The answer is a distro called Voyage. Based on Debian, but targetted at this type of SBC controllers. By itself it fits in roughly 100 MB, but when you include the squeezebox software and then the various dependant packages, it just fits in the 1/2 GB I had at hand.
Here follows my little HOWTO on installing it. The first step is to install Voyage on your CompactFlash, while it is still hooked up to your dekstop:
# fdisk -l /dev/sda
Disk /dev/sda: 512 MB, 512483328 bytes
16 heads, 63 sectors/track, 993 cylinders
Units = cylinders of 1008 * 512 = 516096 bytes
Device      Boot   Start   End   Blocks    Id   System
/dev/sda1   *      1       993   500440+   83   Linux
# mkfs.ext2 /dev/sda1
# tune2fs -c 0 /dev/sda1

# bunzip2 -k ./Voyage-0.7.5.tar.bz2
# tar xvf ./Voyage-0.7.5.tar
# cd ./Voyage-0.7.5
# more ./README
# more ./README.live-cd
#
# ./usr/local/sbin/voyage.update
#
What would you like to do? [Create new Voyage Linux disk]
What would you like to do? [Select Target Profile]
Please select Voyage profile: [ALIX]
What would you like to do? [Select Target Disk]
Which device accesses the target disk [/dev/sda]?
Which partition should I use on /dev/sda for the Voyage system [1]?
Where can I mount the target disk [/mnt/cf]?
What would you like to do? [Select Target Bootstrap Loader]
Which loader do you want (grub or lilo) [grub]?
Which partition is used for bootstrap [1]?
What would you like to do? [Configure Target Console]
Select terminal type: [Console]
What would you like to do? [Partition and Create Filesystem]
What shall I do with your Flash Media? [Use Flash Media as-is]
What would you like to do? [Copy Distribution to Target]
OK to continue (y/n)? y
What would you like to do? [Exit]
Next step is to move the CF card to your ALIX computer and boot that one. Then you've to install the SlimpServer / SqueezeBox packages. One of the problems is that the name of these packages has changed a couple of times, while Logitech took over Slimp. Based on this WiKi page, here is what finally worded for me:
# cat /etc/apt/sources.list
deb http://debian.slimdevices.com stable main
deb http://ftp.hk.debian.org/debian/ squeeze main contrib non-free
deb http://security.debian.org/ squeeze/updates main contrib non-free
# apt-get remove --purge slimserver
# apt-get remove --purge squeezecenter
# apt-get remove --purge squeezeboxserver
# apt-get update
# apt-get install squeezeboxserver
With that, your Slimp3 should work, but only when it is in "remountrw" mode. That's because SqueezeBox writes a cache to /var/lib, which is on Voyage a 'read-only' protected filesystem. To run your whole system, including the squeezebox software, in "remountro" mode, the trick is to modify your /etc/init.d/squeezeboxserver so that it copies the contents of /var/lib/squeezeboxserver to a new directory you create as /tmp/lib/squeezeboxserver. Next you've to change couple of environment variables in the squeezeboxserver setup to point to that directory instead of using /var/lib.
Enjoy the music!! The audio quality will be noticably better than what your typical computer can produce.
Posted at 12:08AM Oct 09, 2011 by WWWillem in Servers |